The 3 Months Between Acceptance and Arrival: A Stage-by-Stage Admin Checklist for Studying in Korea
From acceptance email to your first month in Korea — a five-stage admin checklist covering visa, dorm, finances, ARC, and insurance, written from a university international office perspective.
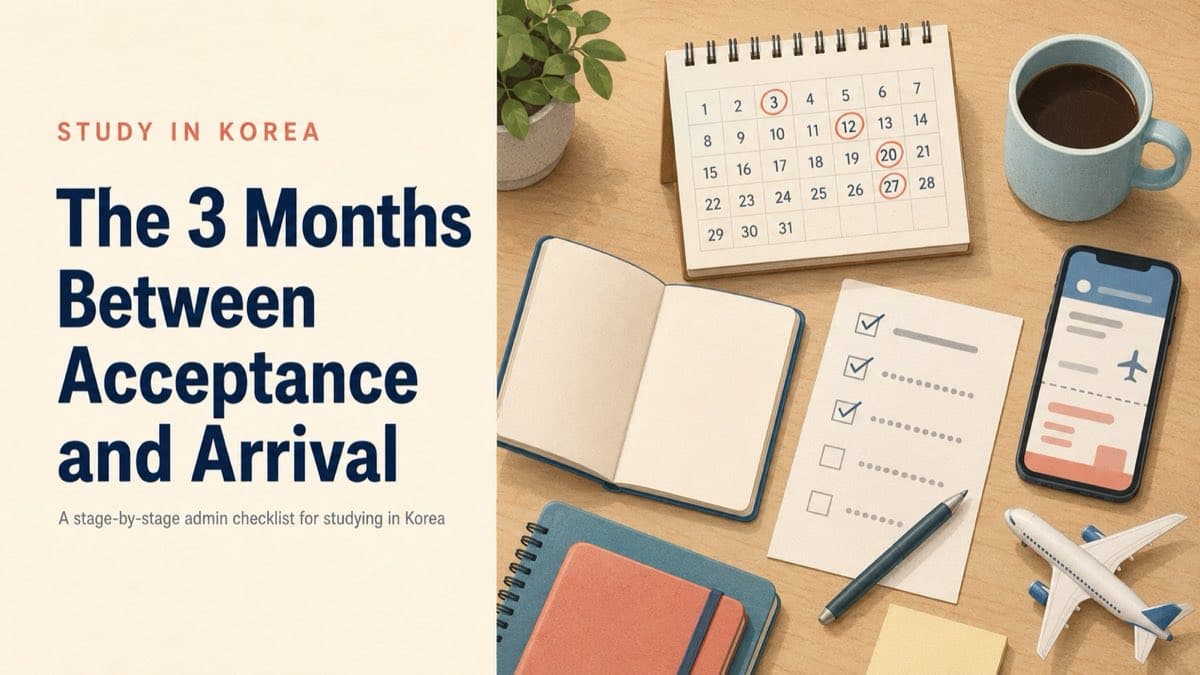
Opening the acceptance email is the easy part. The three months between that moment and your actual arrival in Korea are often the most chaotic stretch of the whole study-abroad process. Visa, money transfers, plane tickets, dorm applications, insurance, TB screening, education credential verification, consular legalization — everything lands at once, each from a different institution with a different form. And missing any one piece can delay your entry or quietly wreck your first semester.
The question Korean university international offices get most often each year is some version of: "Orientation starts in a week and my visa still hasn't come through" — almost always at a point when nothing more can be done. This post breaks down the timeline from acceptance to arrival into five stages, with a behind-the-desk explanation of what to handle at each one.
Stage 1: From Acceptance to D-60
The focus at this stage is gathering every piece of paper you'll need for the visa application. Korean consulates and embassies will return incomplete applications without exception. Many won't accept supplementary documents by email.
What to do:
- Obtain the original Certificate of Admission: This is the centerpiece of your visa application. Schools send it by EMS or DHL, though some now issue it as a PDF. Check your local Korean consulate's website to see whether they accept the digital version or require a physical original. Some consulates in Southeast Asia and Latin America still only accept paper.
- Prepare a financial statement: Usually around USD 20,000 (or equivalent) in a recent bank balance certificate, issued within the last month. If the account is in your parent's name rather than yours, you'll also need a family relations certificate or birth certificate, both legalized via apostille.
- Final education transcripts and diploma: With English or Korean translations and apostille certification. Applicants from China, Vietnam, and Mongolia face additional credential verification that can take one to two months. This is the document that causes the most last-minute panics.
- TB screening: Applicants from the 35 high-risk countries designated by Korea's Ministry of Health must complete a TB screening at a consulate-designated clinic. Results take one to two weeks, so book this appointment first, before anything else.
- Passport validity check: Your passport must be valid for at least six months past your planned date of entry. If it's not, renew it at home before doing anything else.
Stage 2: D-60 to D-30
The focus shifts to securing the infrastructure on the Korean side — visa, dorm, orientation.
What to do:
- Apply for the D-2 visa: Submit at your local Korean consulate or embassy. Processing usually takes 5–10 business days, but during the one to two months before each semester, volume spikes and processing can stretch to 2–3 weeks. Some countries require KVAC online pre-booking.
- Apply for the dormitory: International students often apply through a separate track. Miss the deadline and you'll be looking at a goshiwon or studio off-campus — and signing a Korean rental contract in your own name before you have an ARC is practically impossible.
- Register for international student orientation: Skip this and you'll miss the airport pickup service, the group ARC application, the Korean placement test, and several other essential events. "I'll just figure it out when I get there" is the single most dangerous assumption at this stage.
- Read the course registration system in advance: Korean university course registration is a first-come-first-served click war. Find your school's registration manual (usually in Korean) and run it through a translator before the day arrives.
Stage 3: D-30 to D-7
The focus is simulating your first week on the ground — what will you actually do during those first seven days?
What to do:
- Confirm your flight: Aim to arrive two or three days before orientation. You'll need the buffer for jet lag and administrative tasks. Plan your route from Incheon Airport to campus in advance (airport limousine bus, KTX, or school pickup).
- First-month living expenses (cash or transfer): Korean bank accounts technically can't be opened officially until you have an ARC. Some banks will open a limited account with just your student ID and Certificate of Admission, but to receive large transfers (tuition, dorm deposit), you'll need a full account — and full accounts usually aren't available until 4–6 weeks after arrival. Plan to rely on cash or your home-country card during that gap. We strongly recommend setting up a multi-currency card like Wise or Revolut before you fly.
- Short-term health insurance: Korea's National Health Insurance enrollment kicks in automatically six months after entry. Before that, you need private coverage (travel insurance or international student insurance). Emergency room visits in the first weeks are surprisingly common — jet lag, food changes, fine dust. Without insurance, an ER visit can run into the hundreds of thousands of won.
- Roaming plan or short-term Korean SIM: A 30-day prepaid SIM is available right at Incheon Airport without an ARC. But formal contracts with SKT, KT, or LG U+ require an ARC.
Stage 4: The First Week After Arrival
The focus now is establishing yourself as an administratively recognized person in Korea.
What to do:
- Apply for the Alien Registration Card (ARC): Required within 90 days of entry. You can apply individually at the Immigration Office or through your school's group application. The group application is strongly recommended — it lets you skip the queue. Issuance takes about four weeks.
- SIM card now → official telecom plan after ARC: A short-term SIM gives you calls and data, but no Korean phone authentication ("본인인증"). And without phone authentication, you can't sign up for almost any Korean online service — Coupang, Baedal Minjok, KakaoTalk verification, anything.
- Try to open a bank account: Banks like Woori, KB, and Hana will open a limited account with just your student ID and Certificate of Admission. You'll come back later to convert it into a full account (with internet banking) after your ARC is issued.
- Dormitory move-in or temporary housing: Move-in dates often don't line up with orientation dates. Book a guesthouse for the 3–4 days in between, just in case.
- Korean placement test: If your program includes mandatory Korean classes, this test determines your level for the first semester.
Stage 5: One Month After Arrival — Settling In
Once your ARC is issued, you finally function administratively as a real resident.
What to do:
- Convert to a full bank account and register for internet banking
- Switch to a formal telecom contract (monthly plan)
- Start using a T-money card for daily transportation
- Pick up your university health insurance card
- Join the international student community (campus clubs, your country's student association, etc.)
Closing Thoughts
The most common first-semester crisis for international students in Korea isn't "the classes were too hard." It's "my paperwork got tangled." Visa arriving late and missing orientation. Missing the dorm deadline and spending the first week in a guesthouse. ARC delays meaning no KakaoTalk verification, meaning you can't even join your class group chat. These cases land in the admin office every semester without fail.
The moment you receive your acceptance email, transfer this five-stage checklist into your calendar. That alone makes the first half of your first semester drastically safer. And one more thing: if you have a question and aren't sure whether it's worth emailing the International Office, send it anyway. From the admin side, pre-arrival questions are a hundred times easier to handle than post-arrival ones.
You may also like
You may also like

Related Posts

Studying Outside Seoul? Five Things to Check Before You Choose
Seoul is not the only option — but before choosing a university elsewhere in Korea, check what an ordinary weekday would look like: the dorm, the commute to class, meals and shopping, the courses and English help you need, and whether the location fits your plans.

English-Taught Programs in Korea: What to Check Beyond the Classroom
"English-taught" answers one question — can I study here with limited Korean? — but not the rest. Here is what to check about the curriculum, graduation rules, advising, administration, and daily life before you choose a program.

TOPIK Scores and Korean University Admissions: How They Actually Get Evaluated
How TOPIK scores really get used in Korean university admissions, scholarships, and post-enrollment life — written from inside a Korean university admin office, not from generic guides.